Plan out and execute a project
Suchitra Giri
suchitraYou will need
Step-by-step instructions
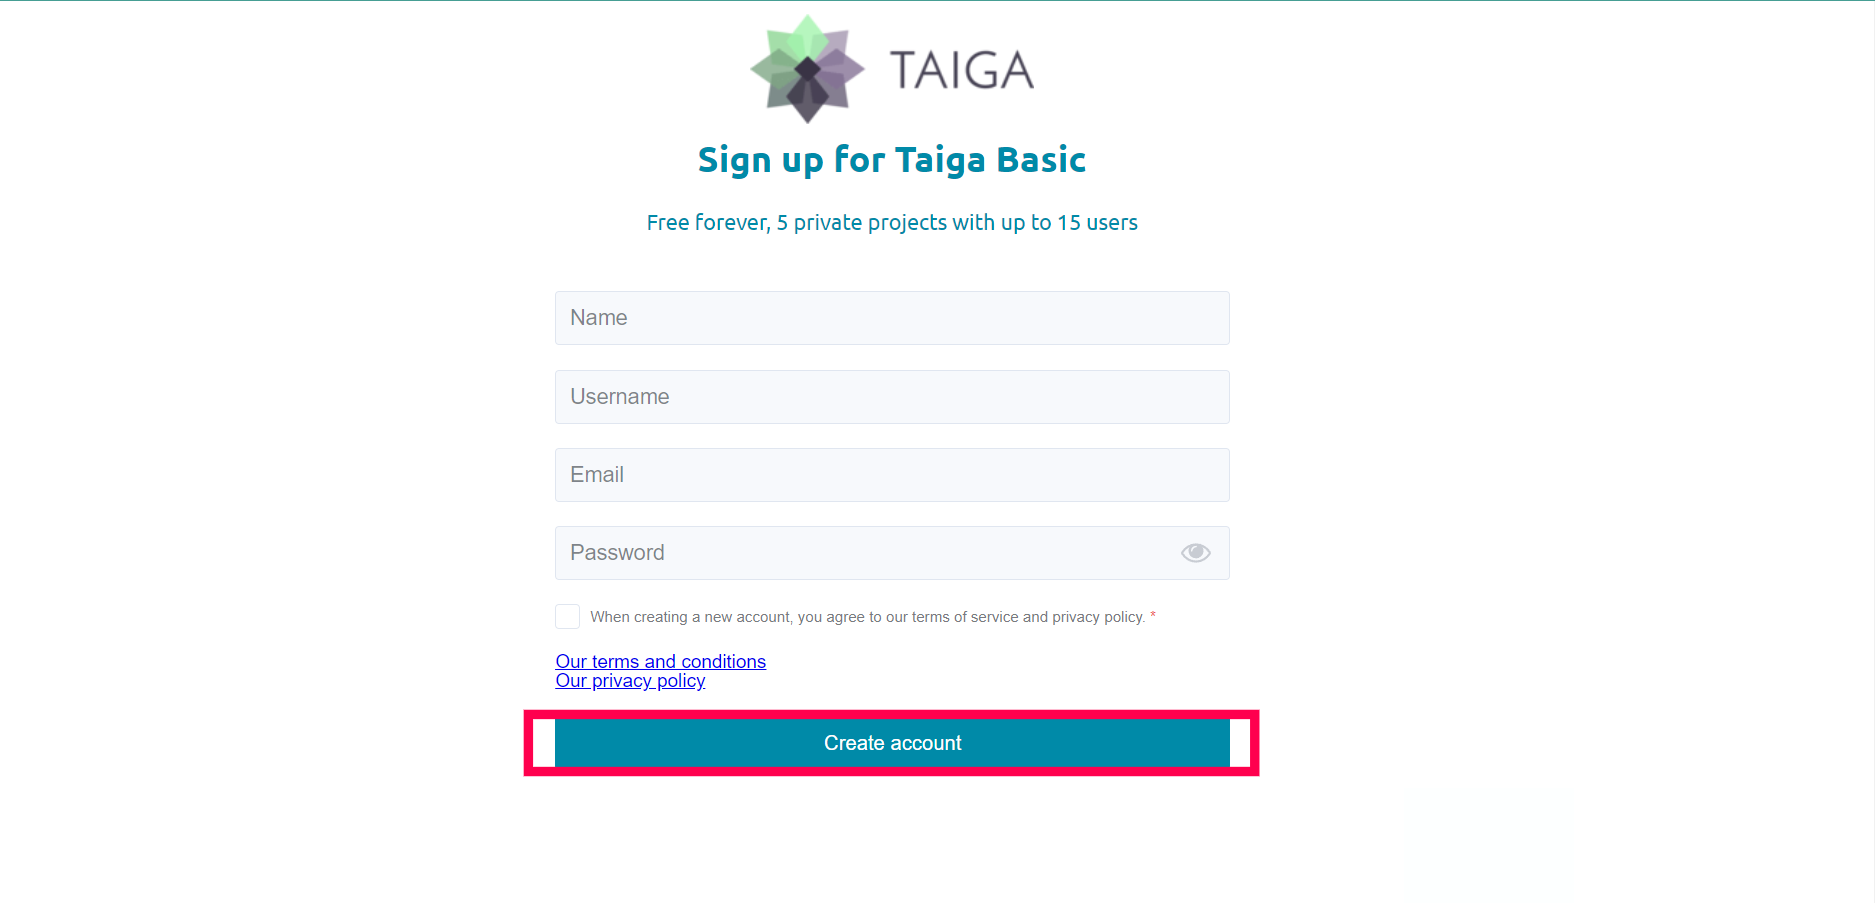
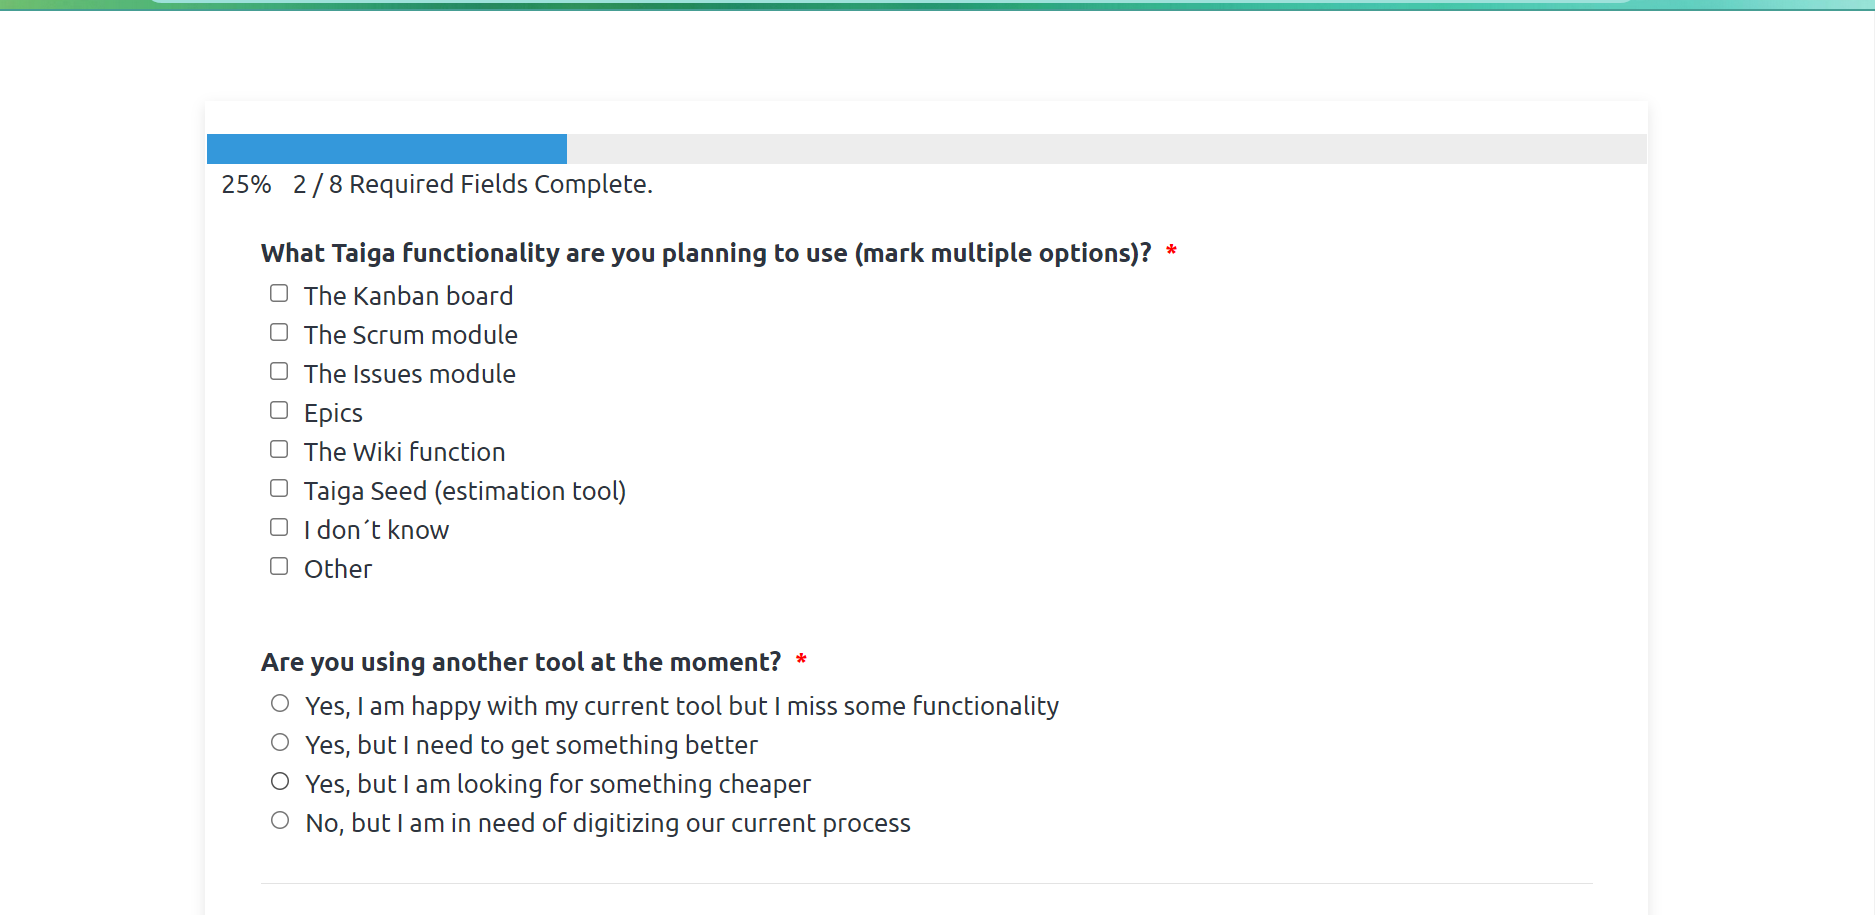
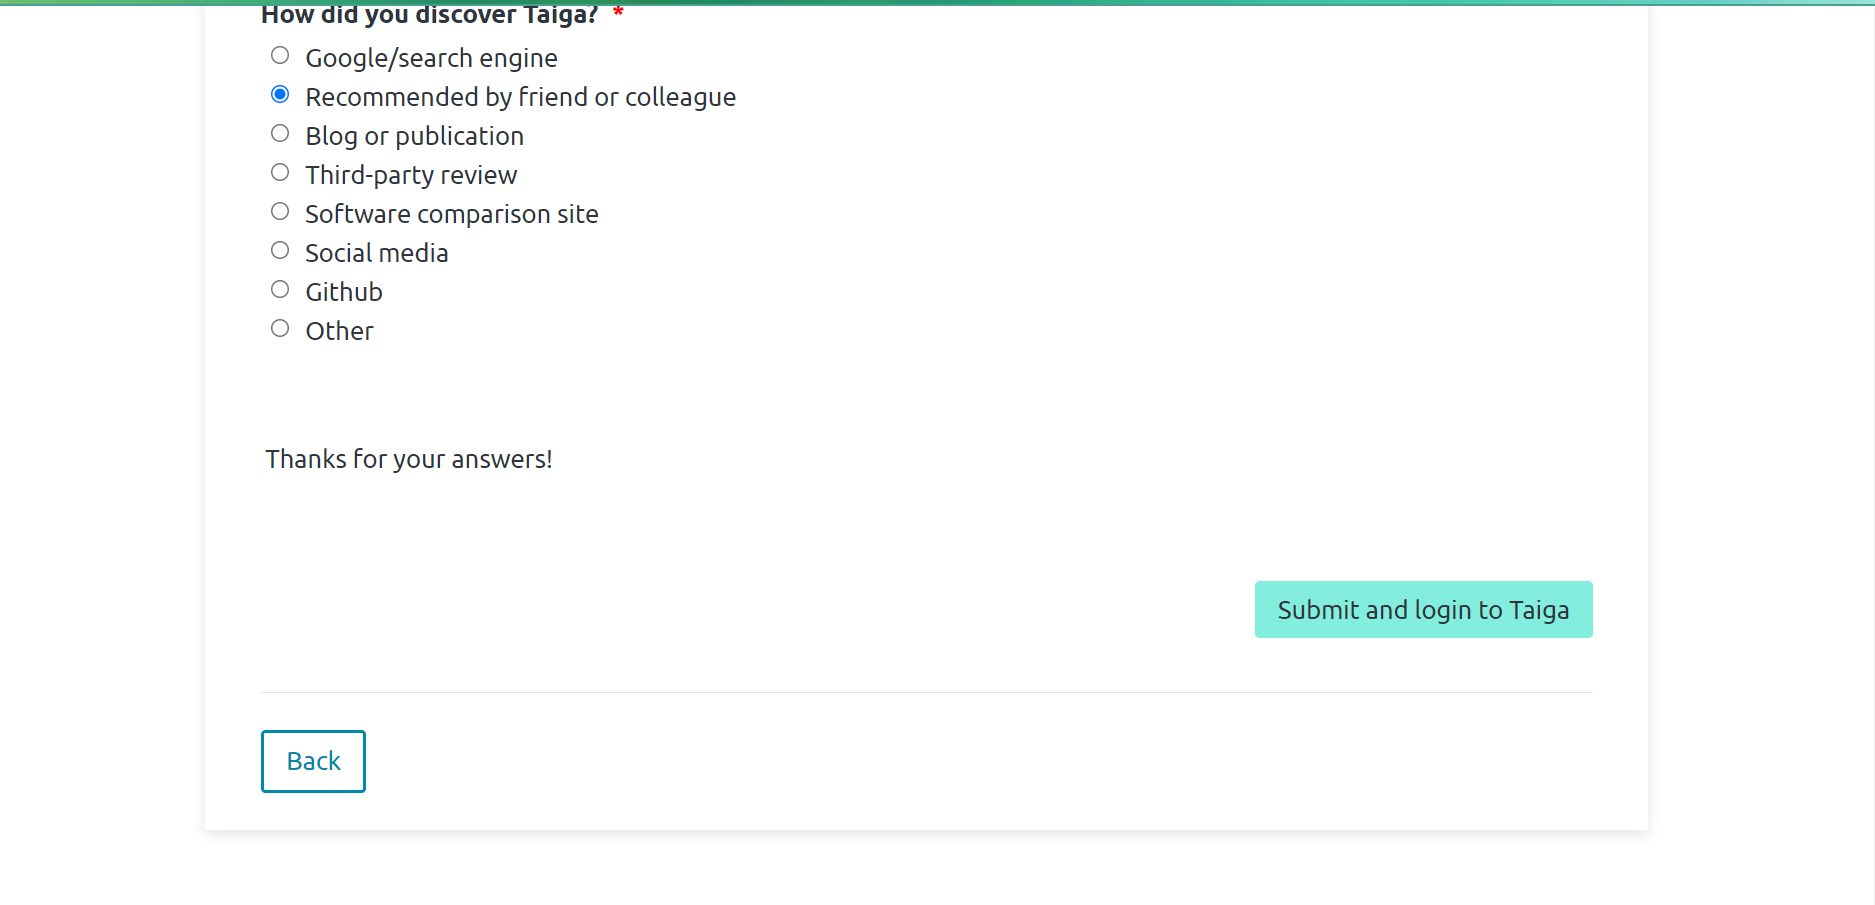
Go to Taiga's official website, there you will find paid and free options, choose what suits you, and signup. It is a straightforward process, just fill out your basic details like name, username, email, and password. After that you will need to do some answers to basic questions by selecting the options given and clicking next, there are some steps just select which suits you most. At last, you will have the “submit and login to Taiga” button, just click that and proceed. All set, you have successfully signup with Taiga. You can now sign in.
Note: Here we are signup with the free plan, but if you choose paid then you will have only to enter your card details for payment.
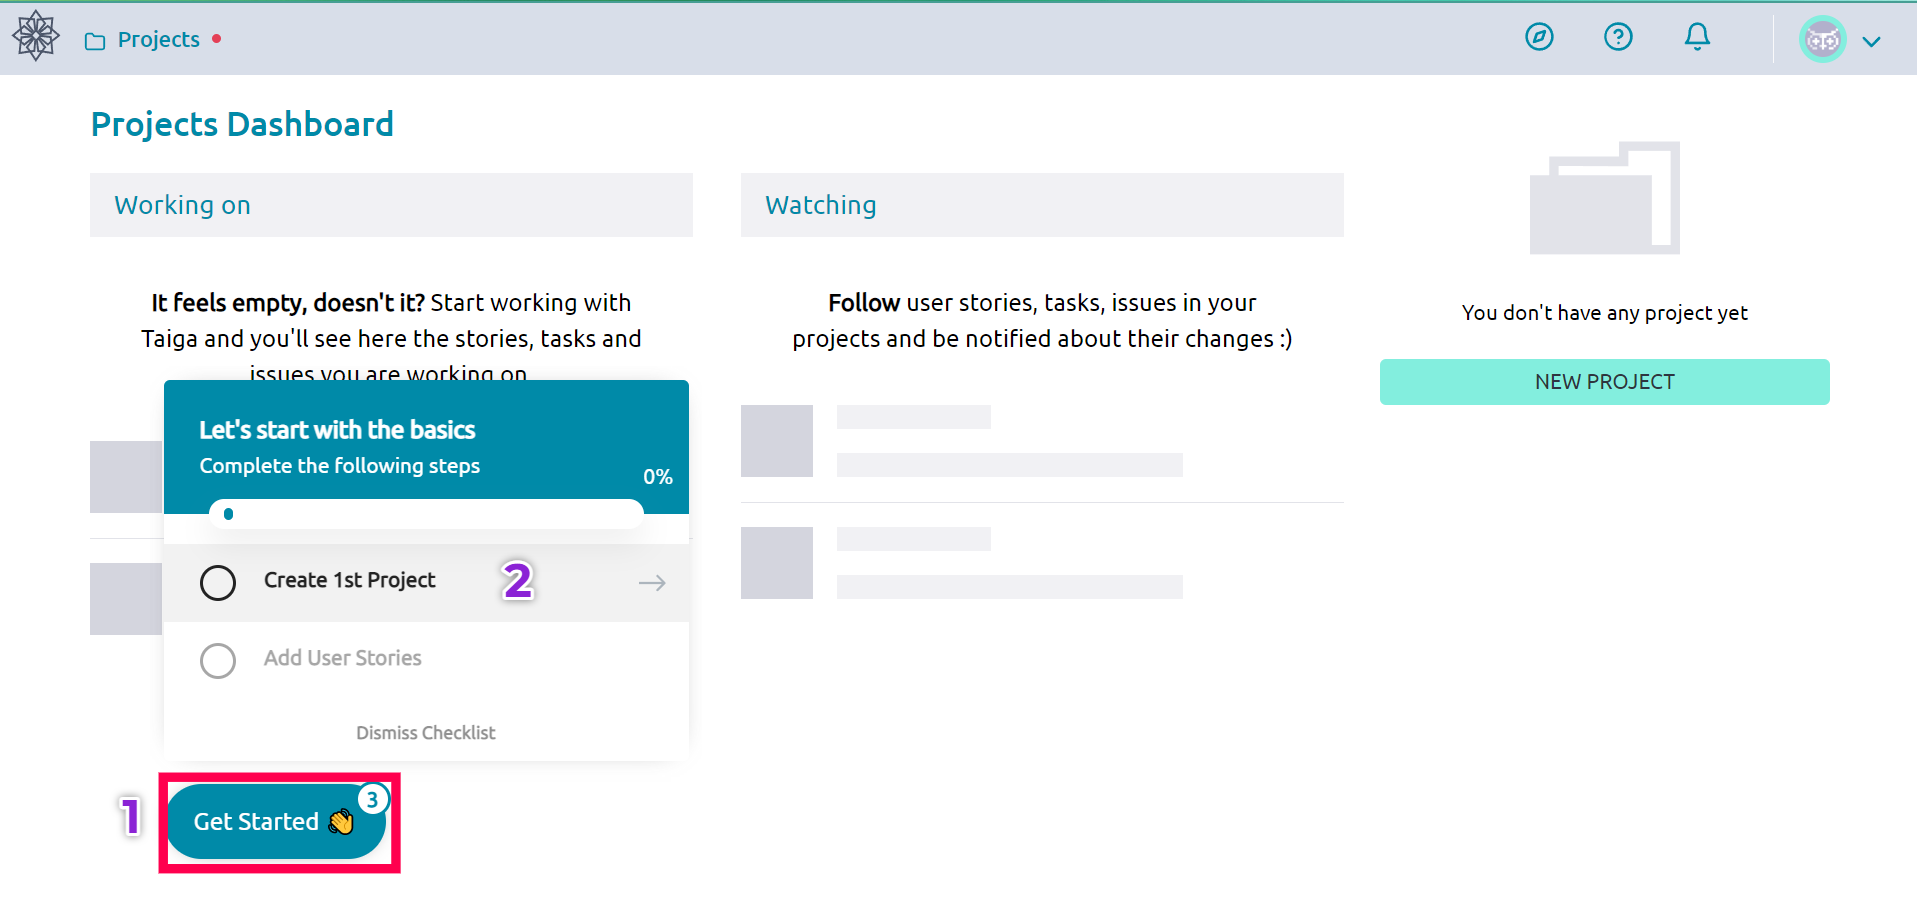
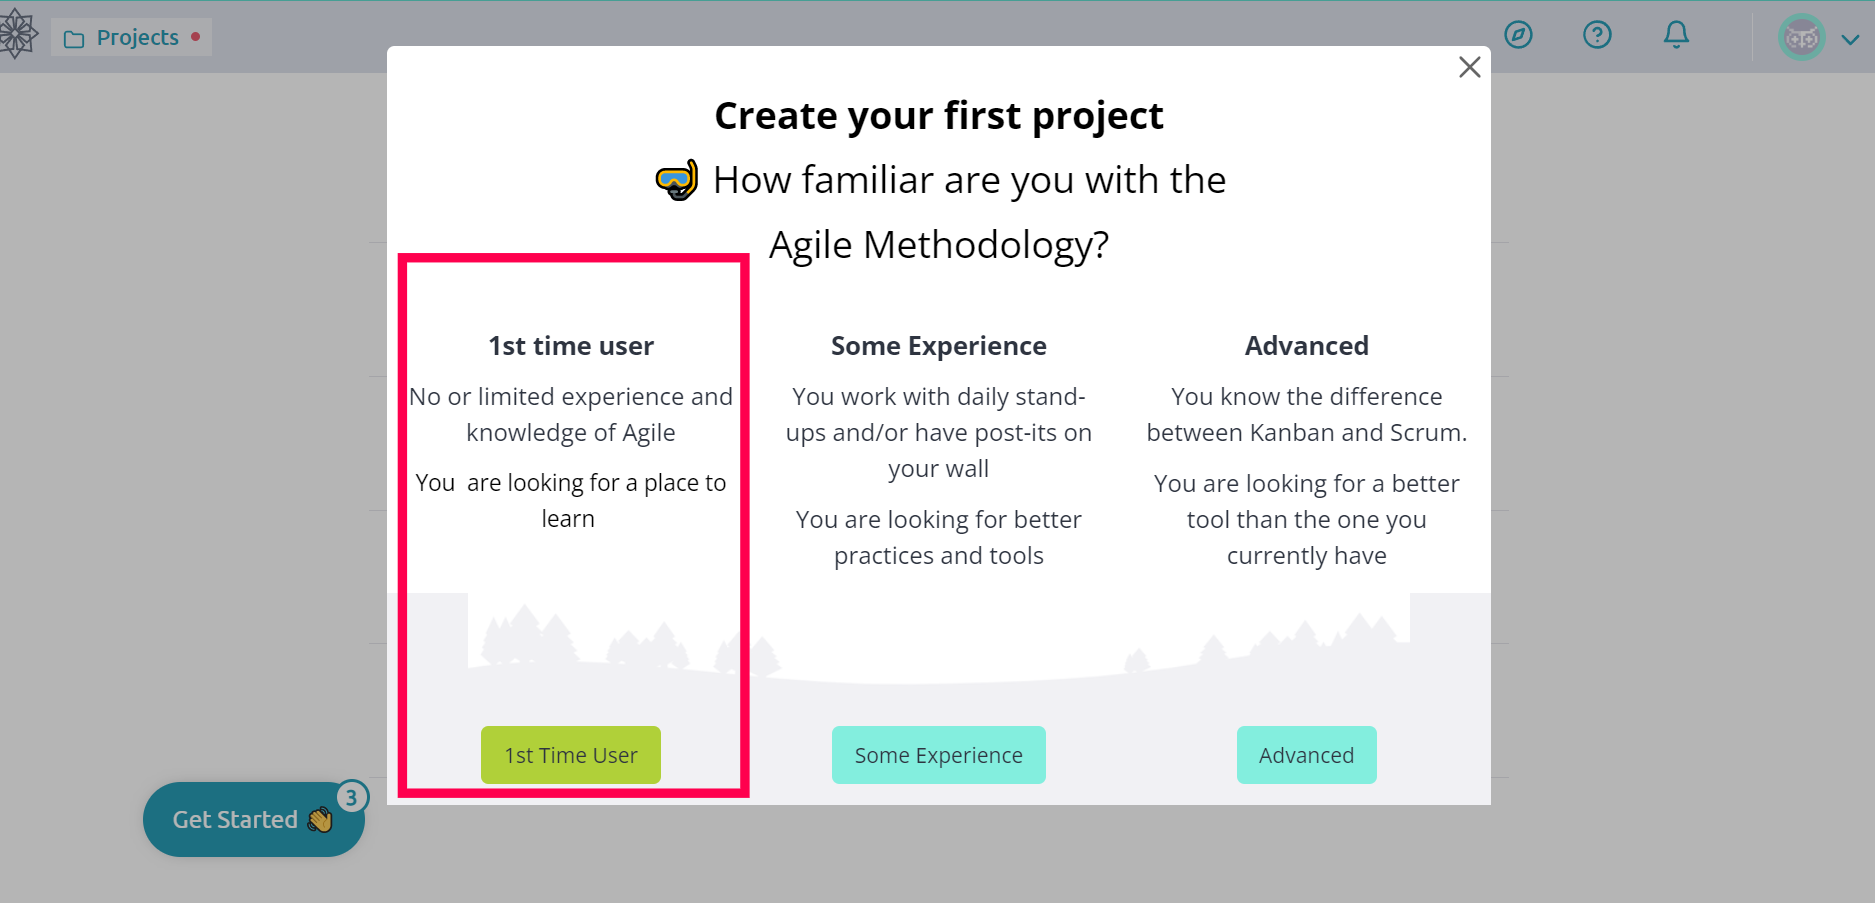
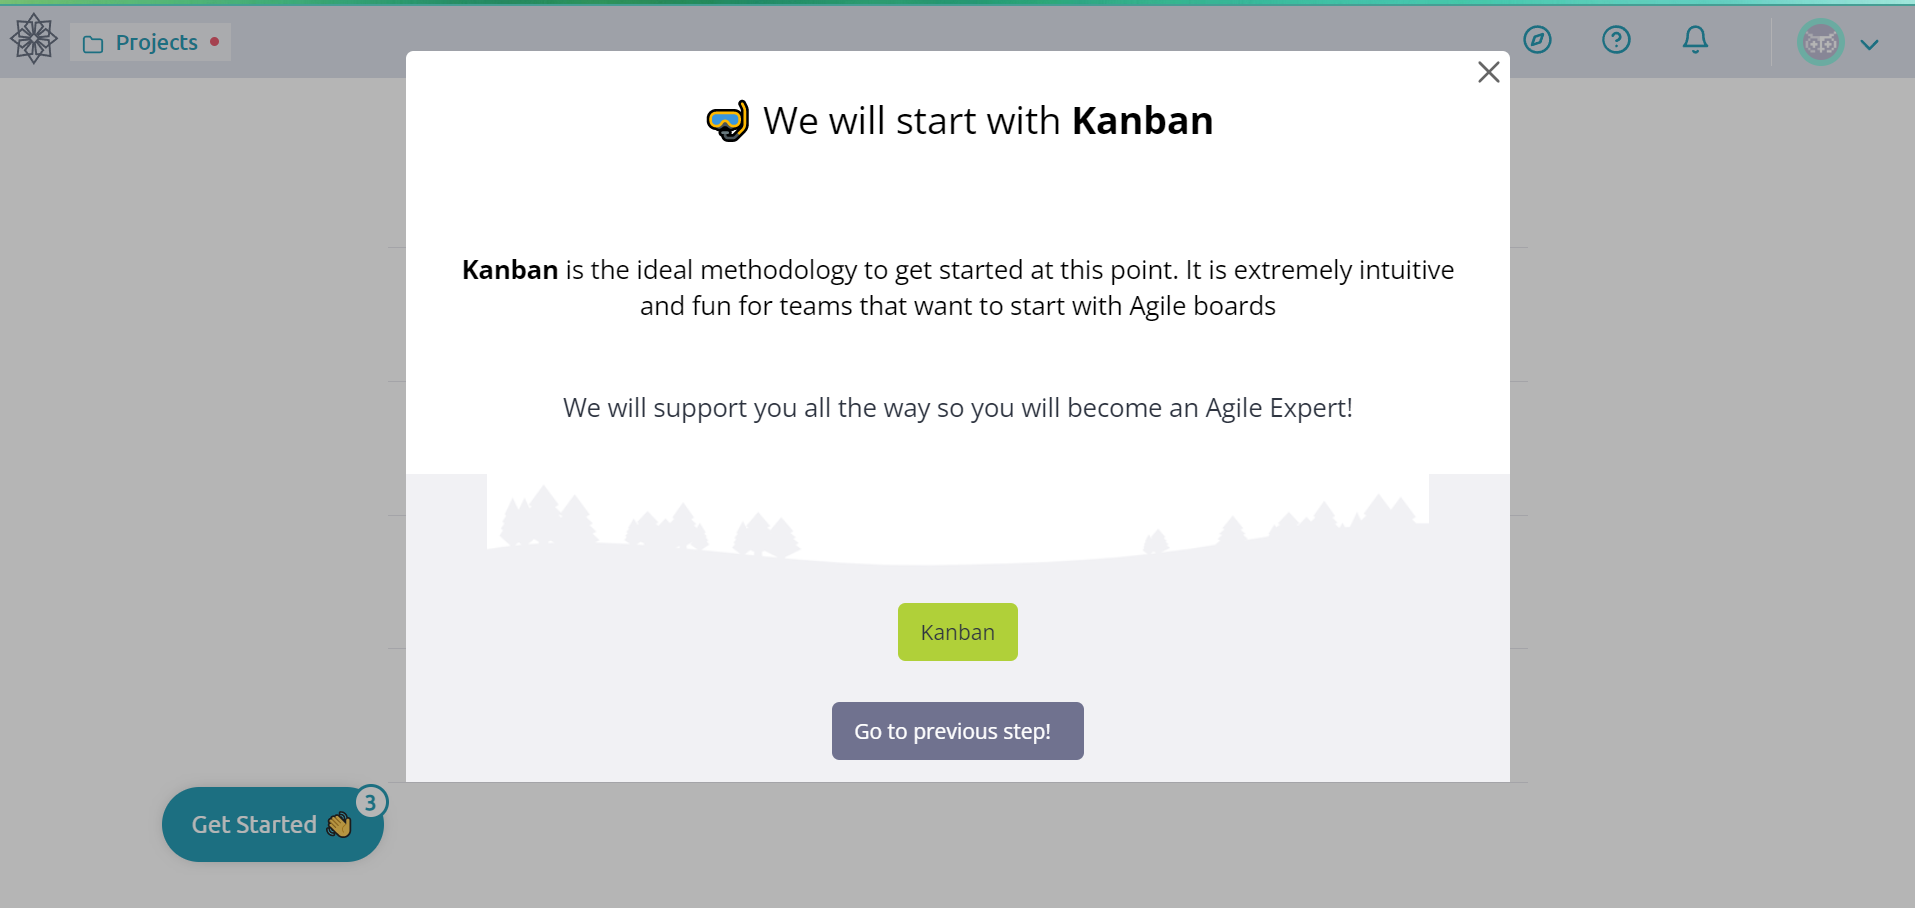
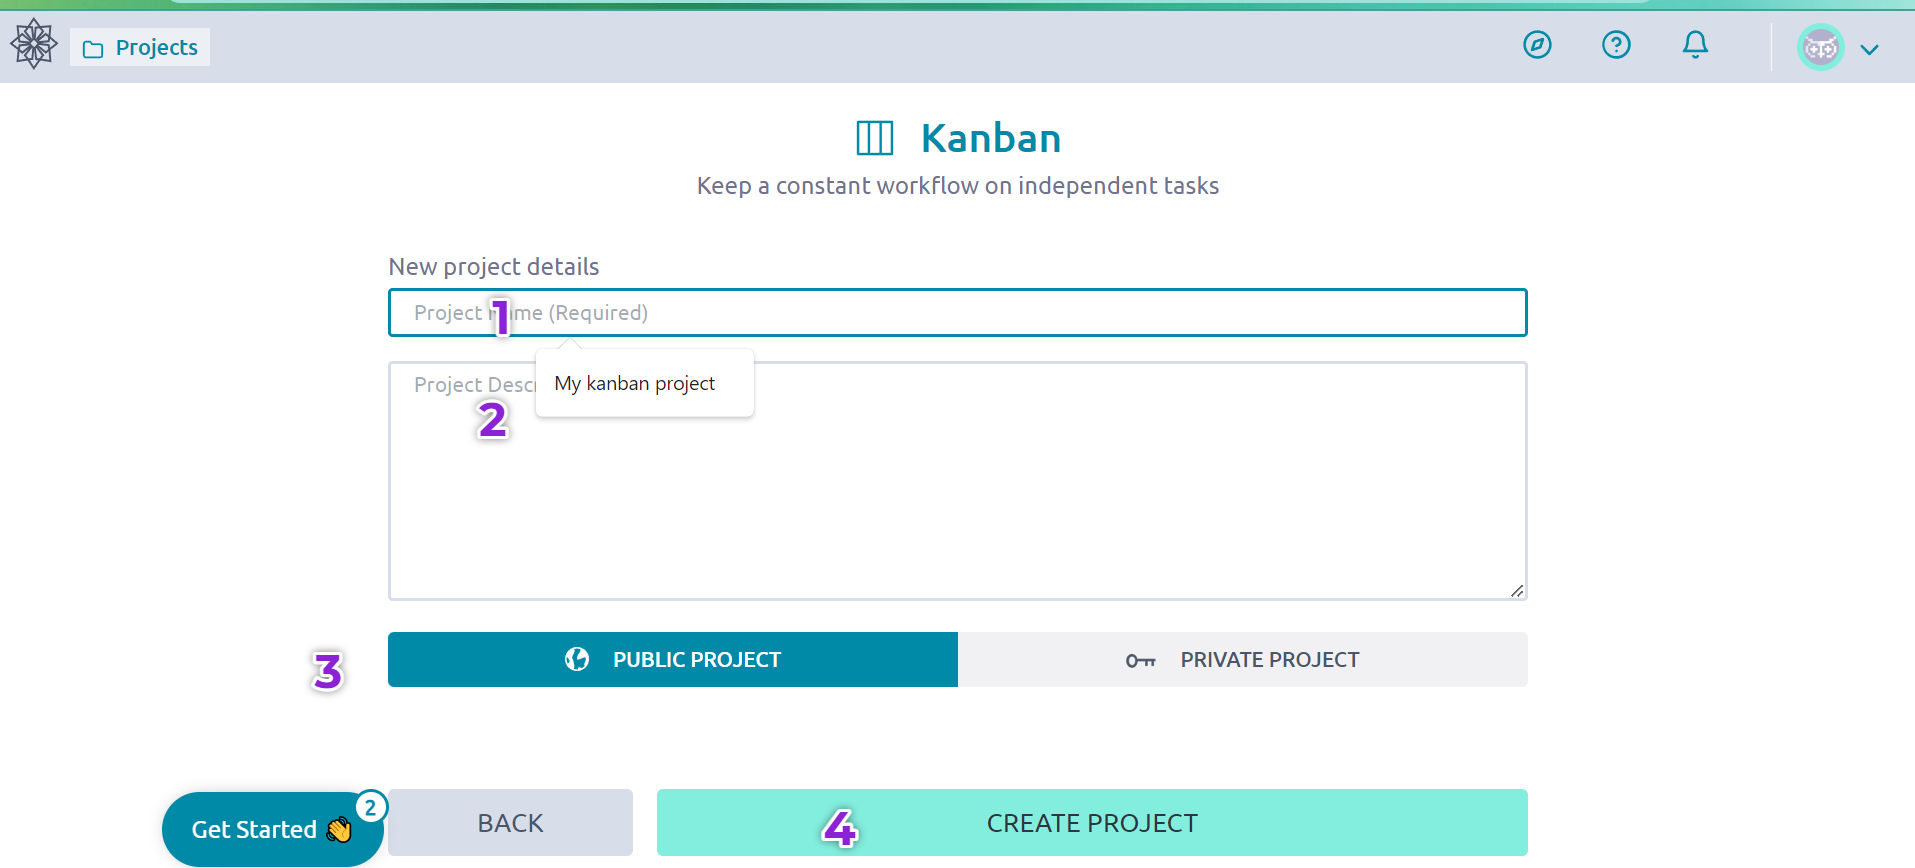
Click on “Get Started” and then “create 1st project”. You don’t have to worry if you are a complete beginner because the website is designed very user-friendly and gives step-by-step instructions: on how to start! Here we choose “1st Time User” but you can choose what suits you. Click on “Kanban” to proceed. Then: 1: Give your project a name, 2: Fill out a project description, and 3: choose whether your project will be public to all Taiga users or private, 4: finally click on “create project”.
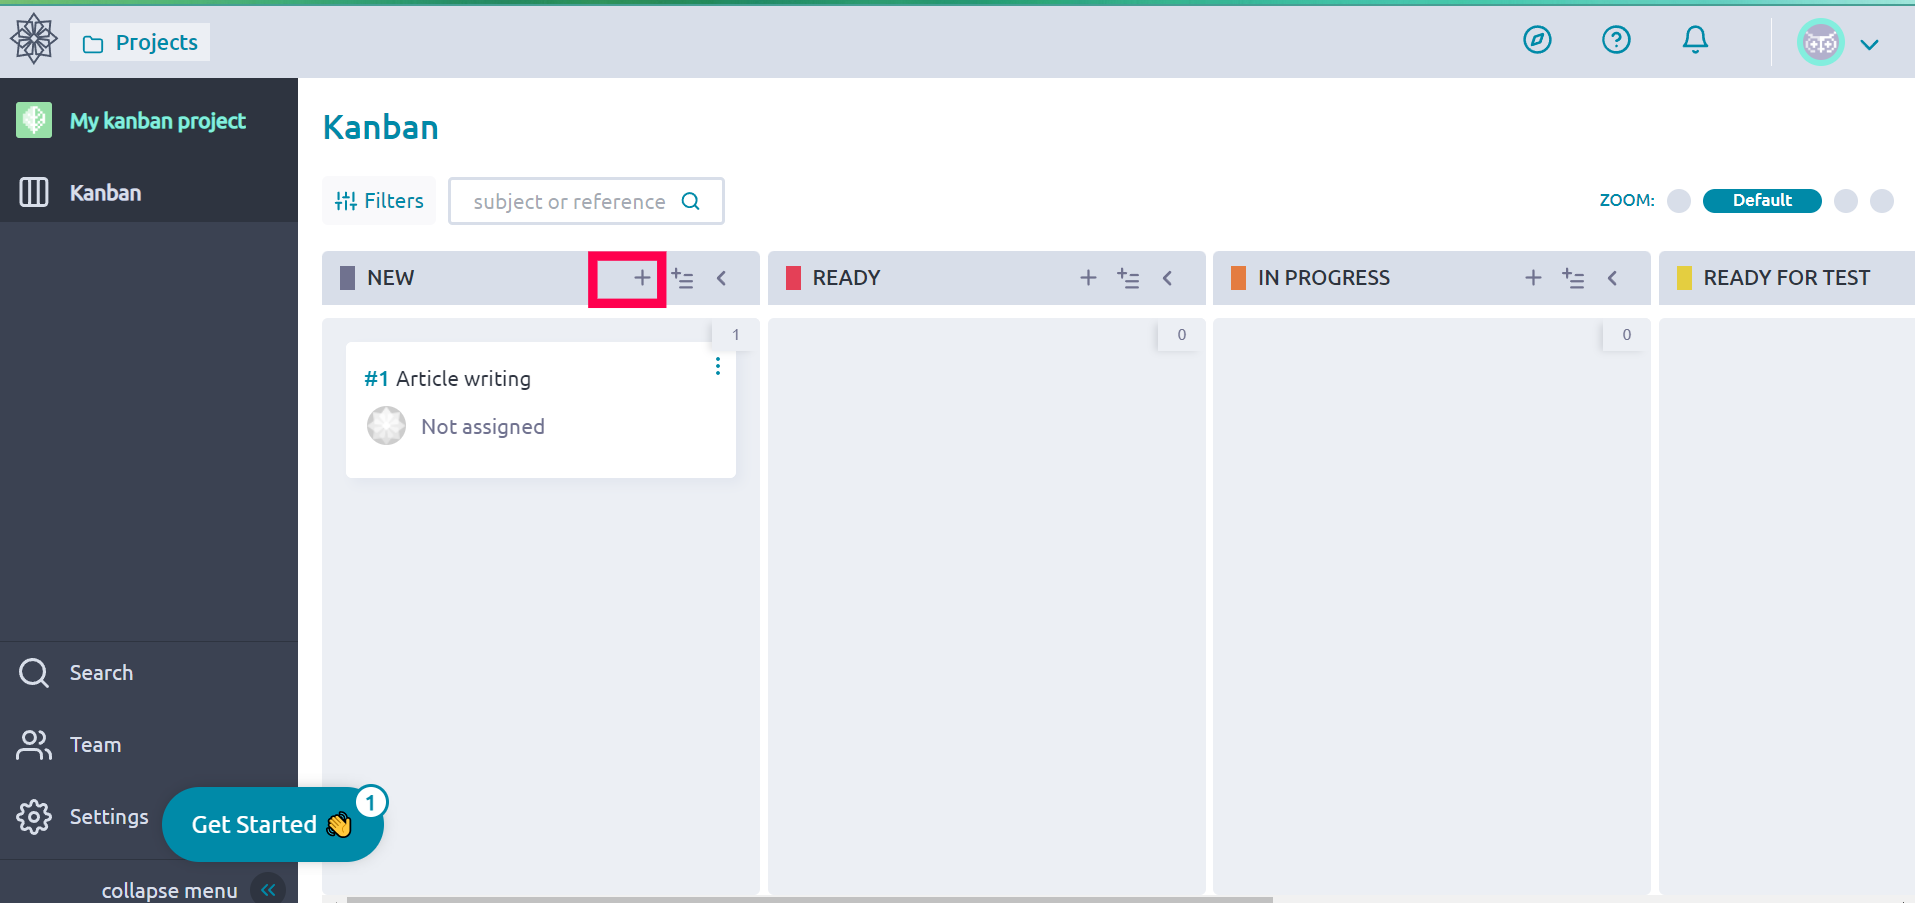
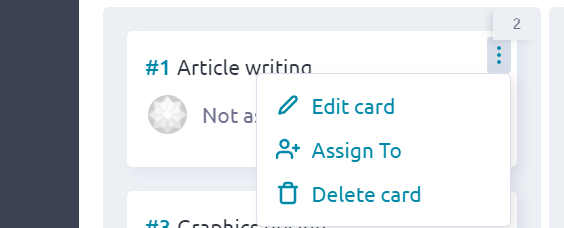
After creating a project, you will see this kind of kanban board where you can manage your task, assignment to your team member, track progress status and all you do via drag and drop your task between “new”, “ready”, and “in progress”, etc. according to your task status. With the help of the “+” icon, you can create your task just like above, you can see one is present “Article writing”. And using three dots on a particular card of the task, you can edit the task, delete that and assign it to a team member as well. Using the “search” button to find a particular task via its name, after pressing the task you will see all the details of that particular task on the details page.
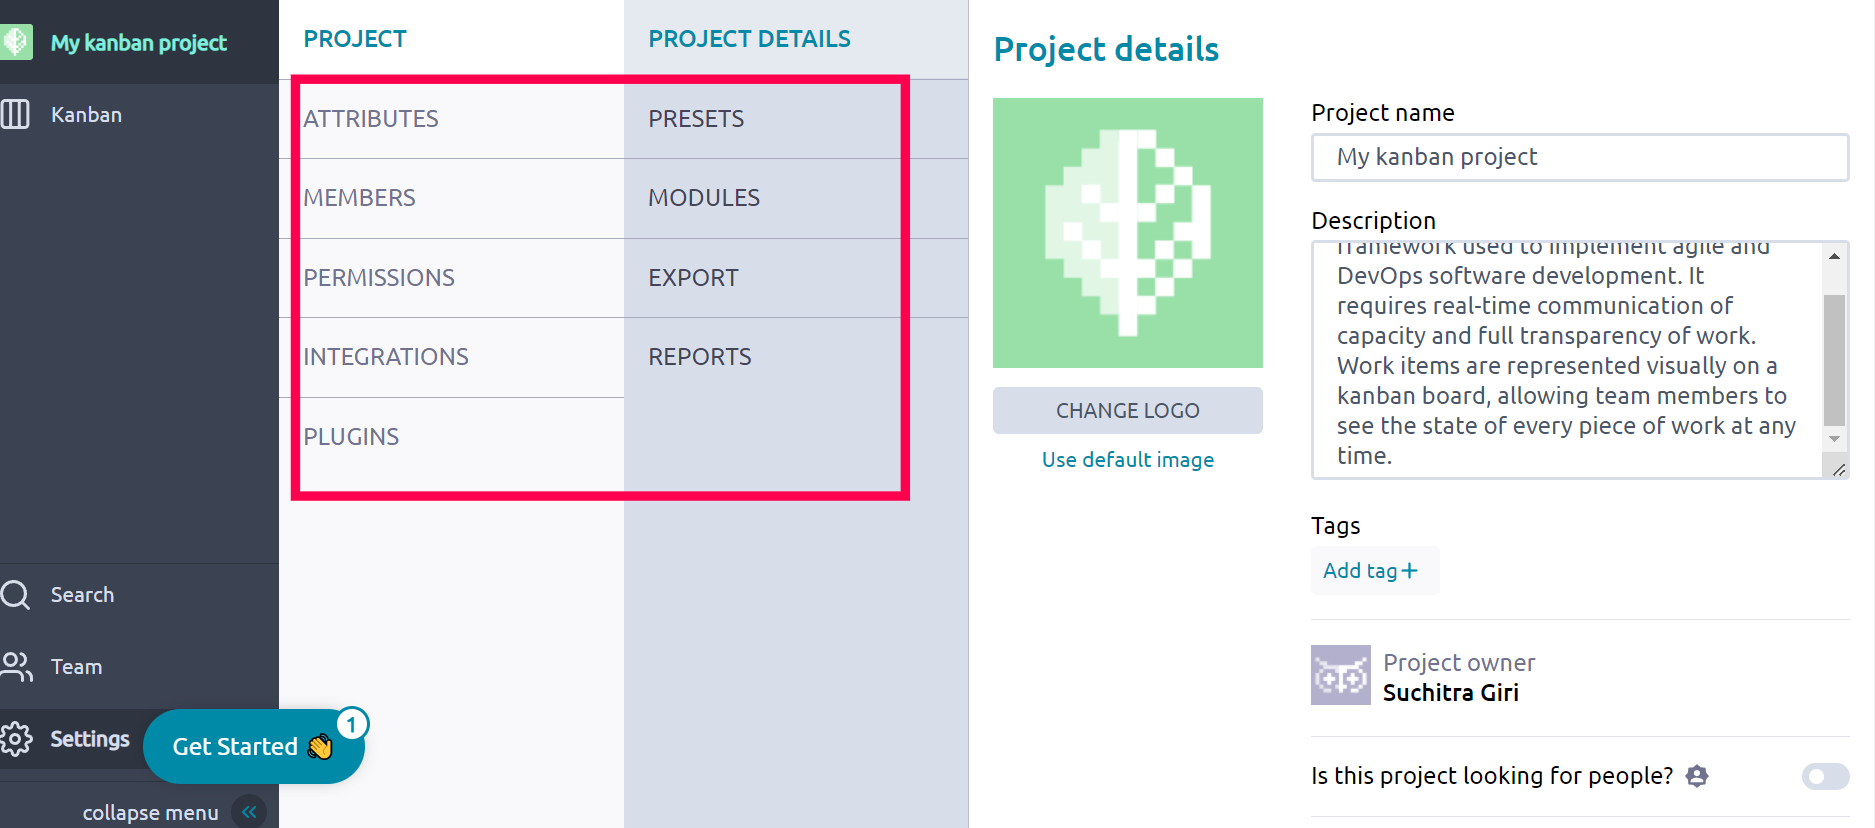
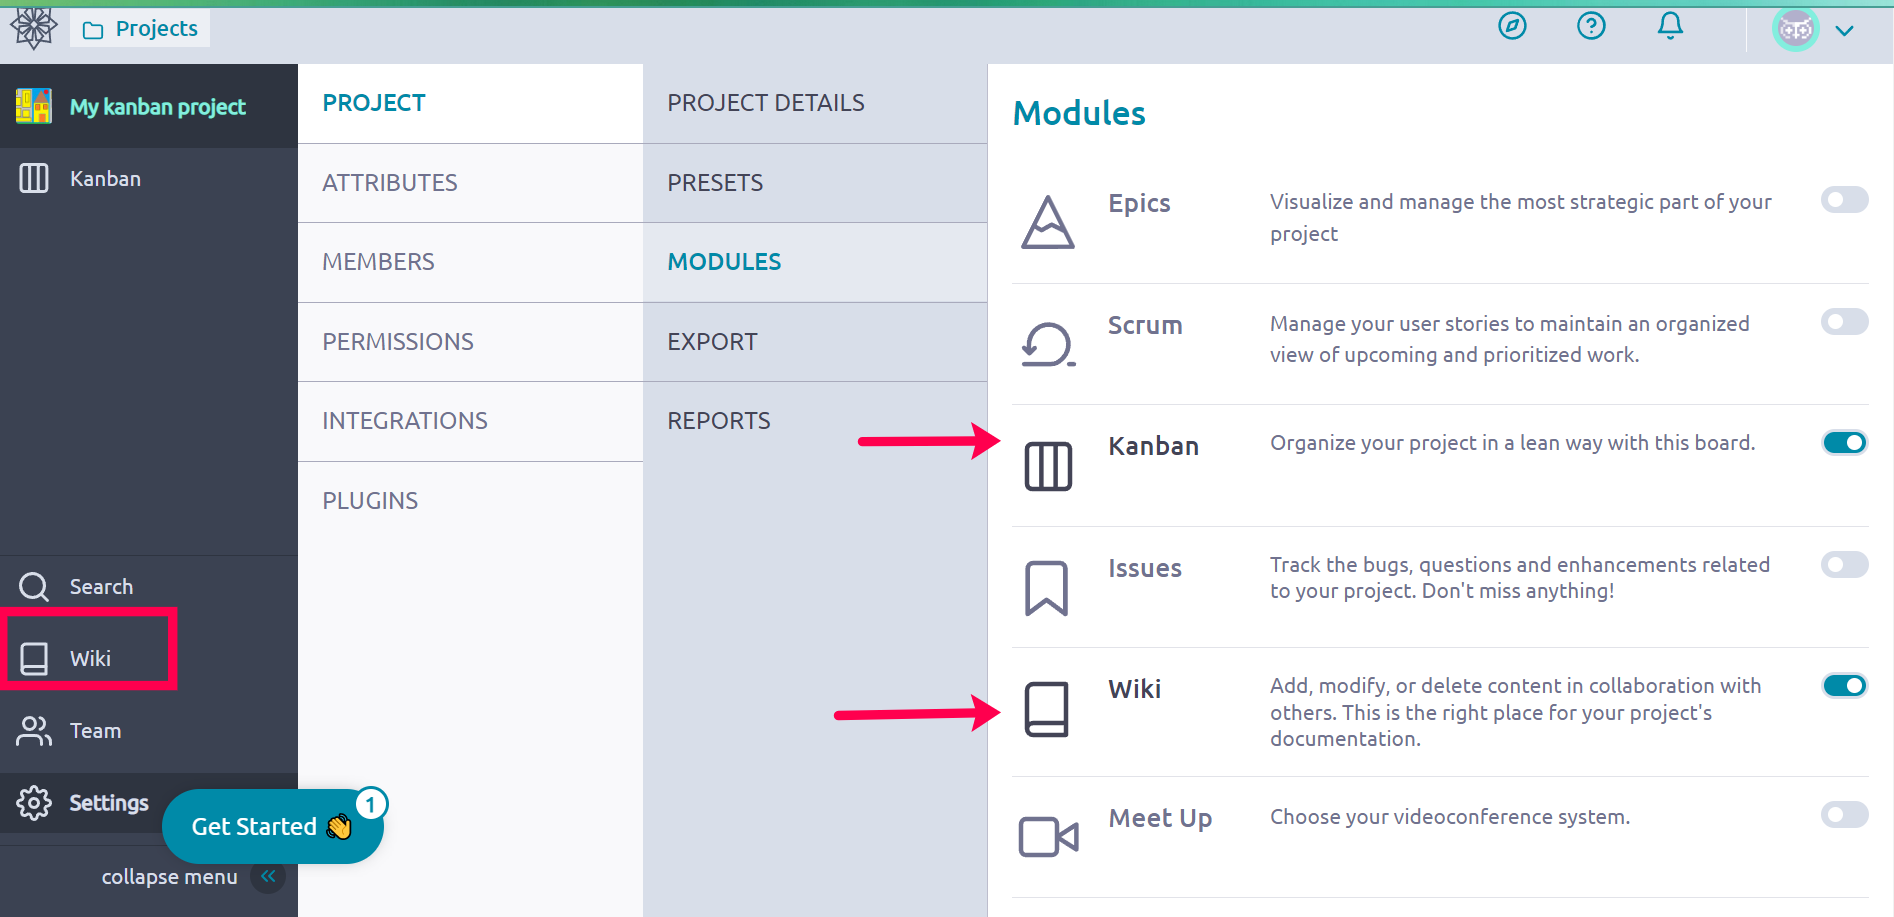
On the left-hand side of the kanban board interface, you will find “team” and “settings” tabs. The Settings tab lets you edit organization-wide preferences. Here you can adjust settings for attributes, members, permissions, integration, plugins and more. We only use the kanban module in this demo, but you can enable or disable other modules. In the module section, we have “Epics”, “Scrum”, “Kanban”, “Issues”, “Wiki”, “MeetUp”. So here we just selected “wiki” and “kanban” which we can see in the left section of the dashboard.
