Send automated emails
Suchitra Giri
suchitraYou will need
Step-by-step instructions
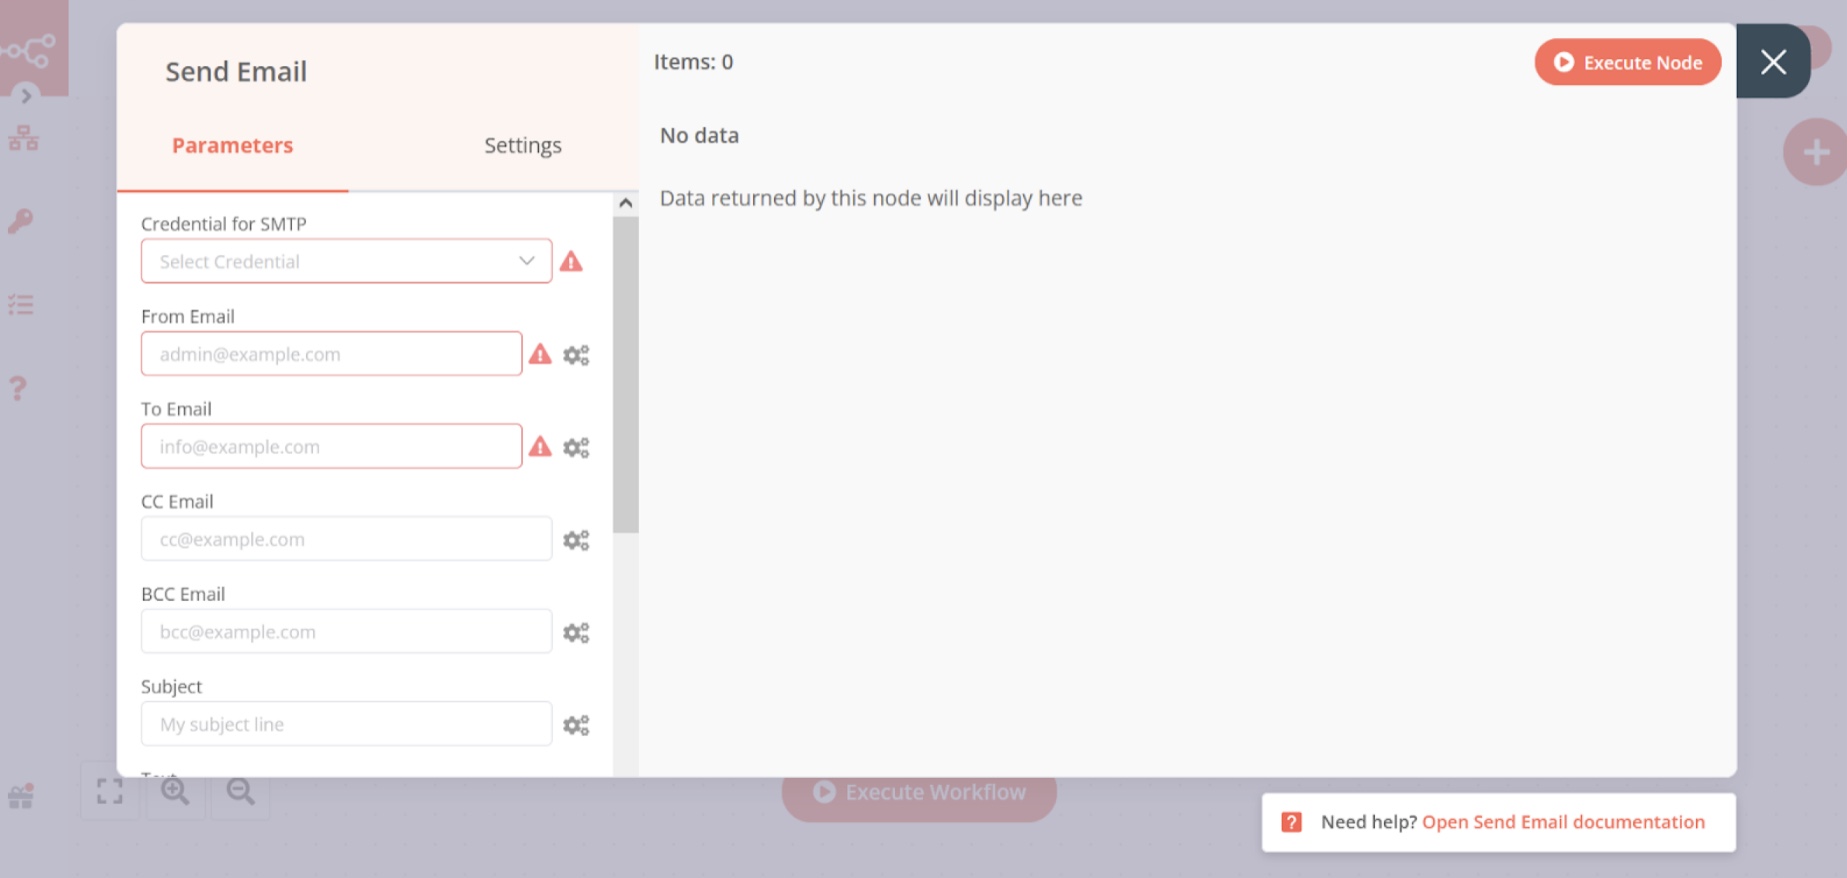
Go to the “+” and in the search box type “send email” then select it. After selecting the “send email” node, the below window will pop up.
Note: Before putting the mail address in “from email” make sure that you have the correct and that email account on a service with SMTP support.
If we have a simple email account but in this case, we can also register our email account for SMTP service support by using some SMTP service provider's example elastic email.
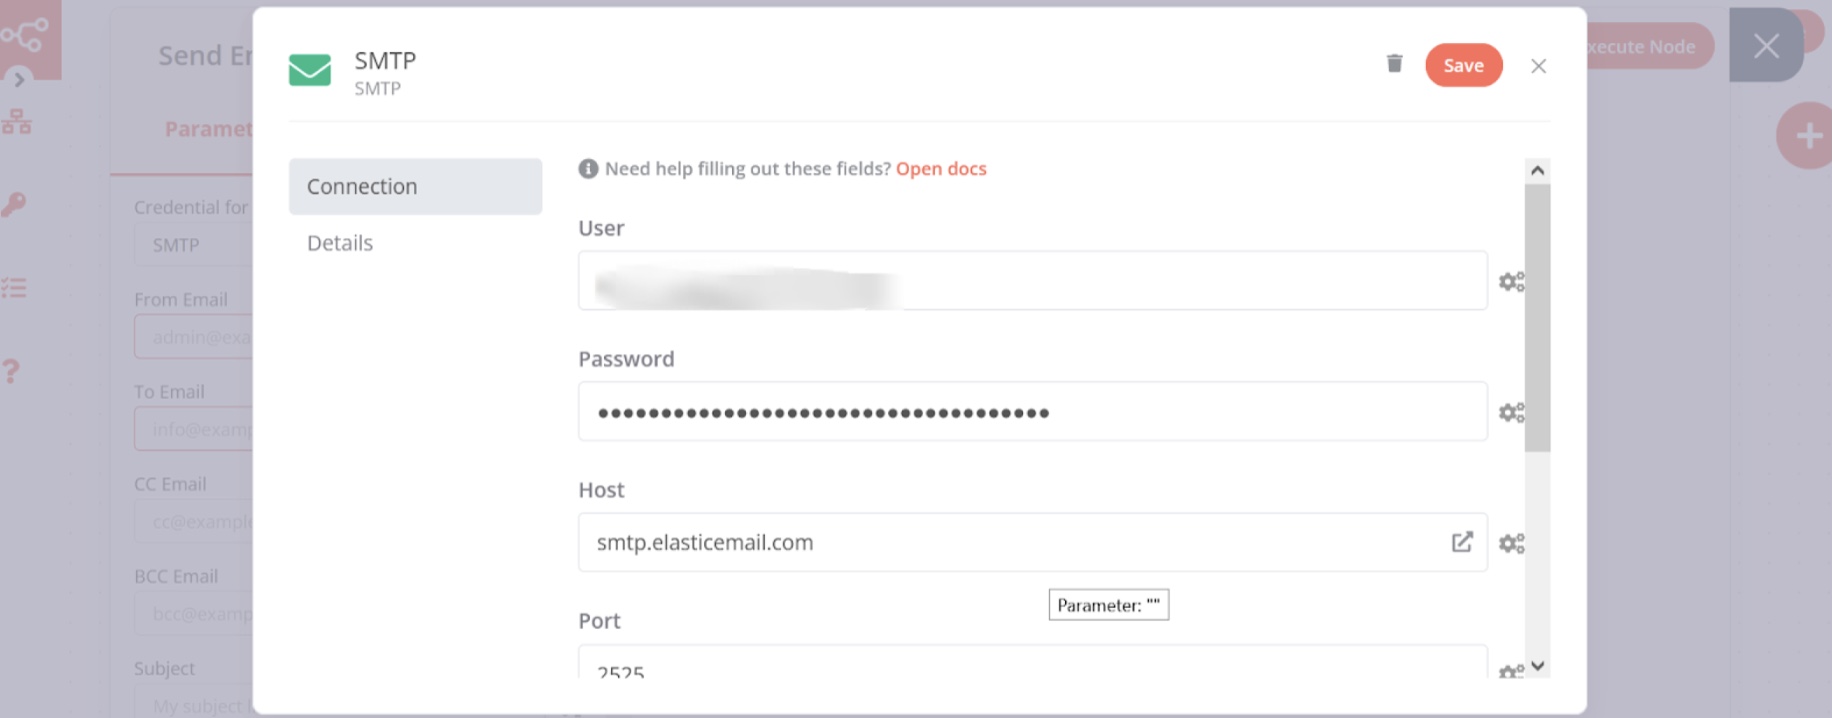
In this guide we use Elastic-Email as a mailing service. Go to Elastic-Email website and create SMTP credentials for your email. After creating, make sure to copy your password. Now, we are ready to put all the required details for executing our “send email” node.
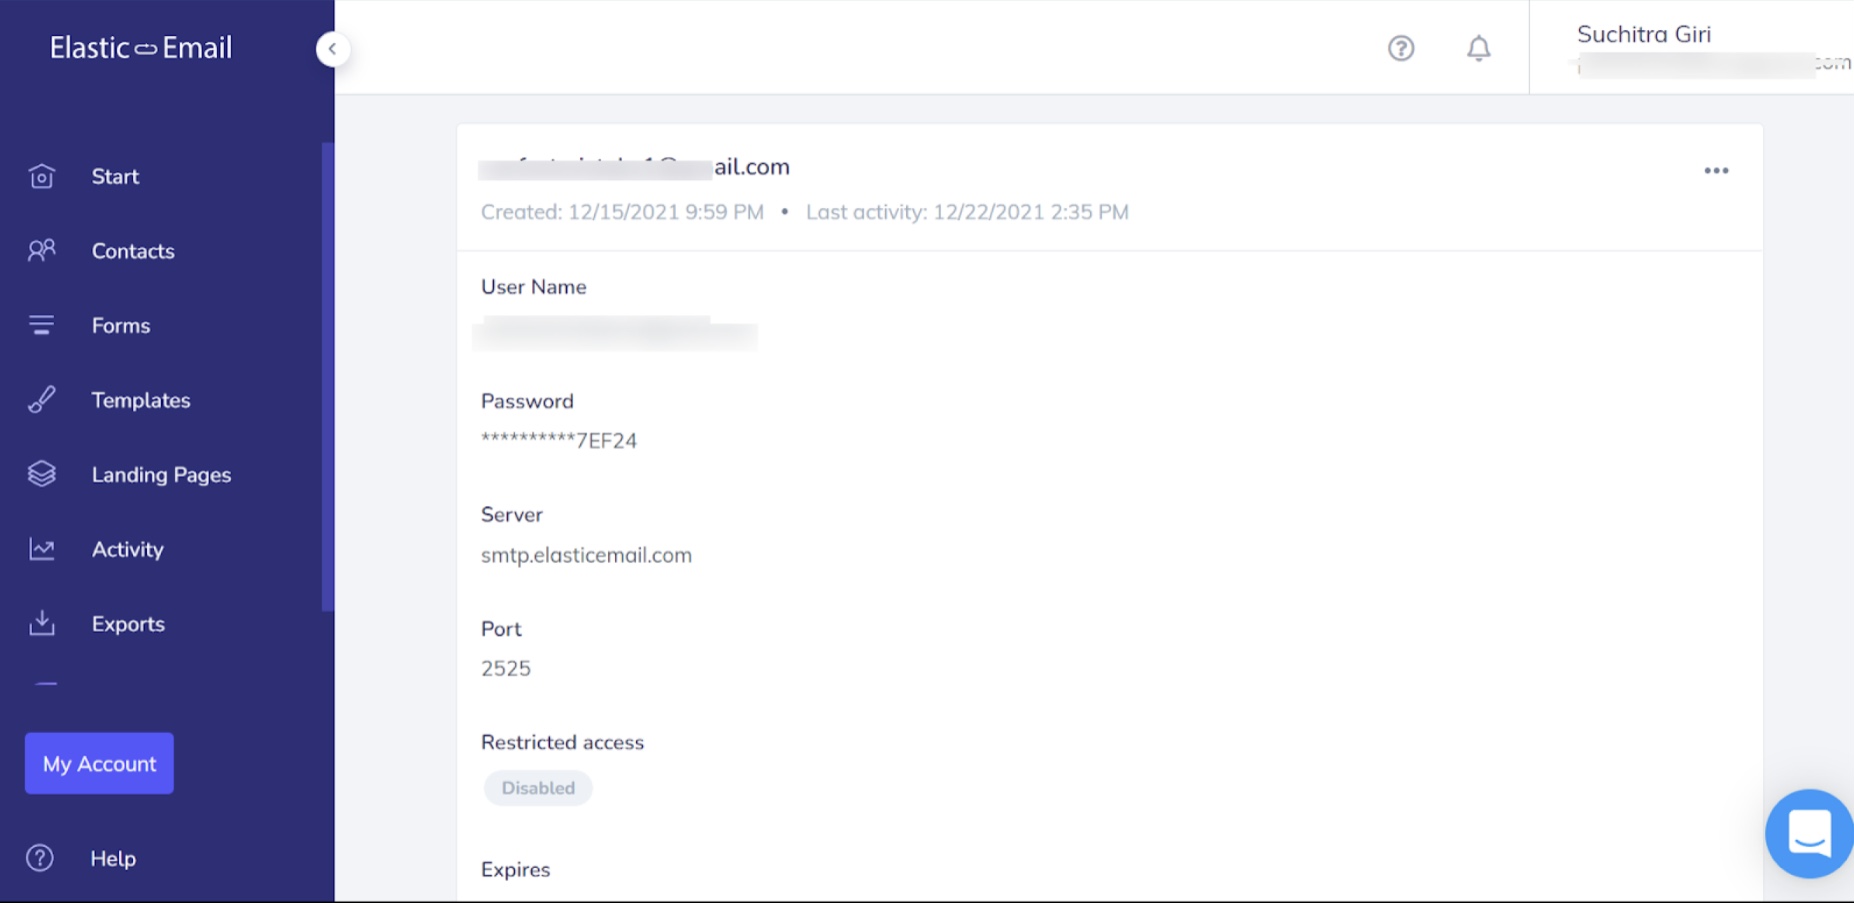
Click on “SMTP credential” and select the pencil icon and put all the details from the Elasic-Email SMTP details. Note: In “from email” put only that email which you have provided for SMTP service.
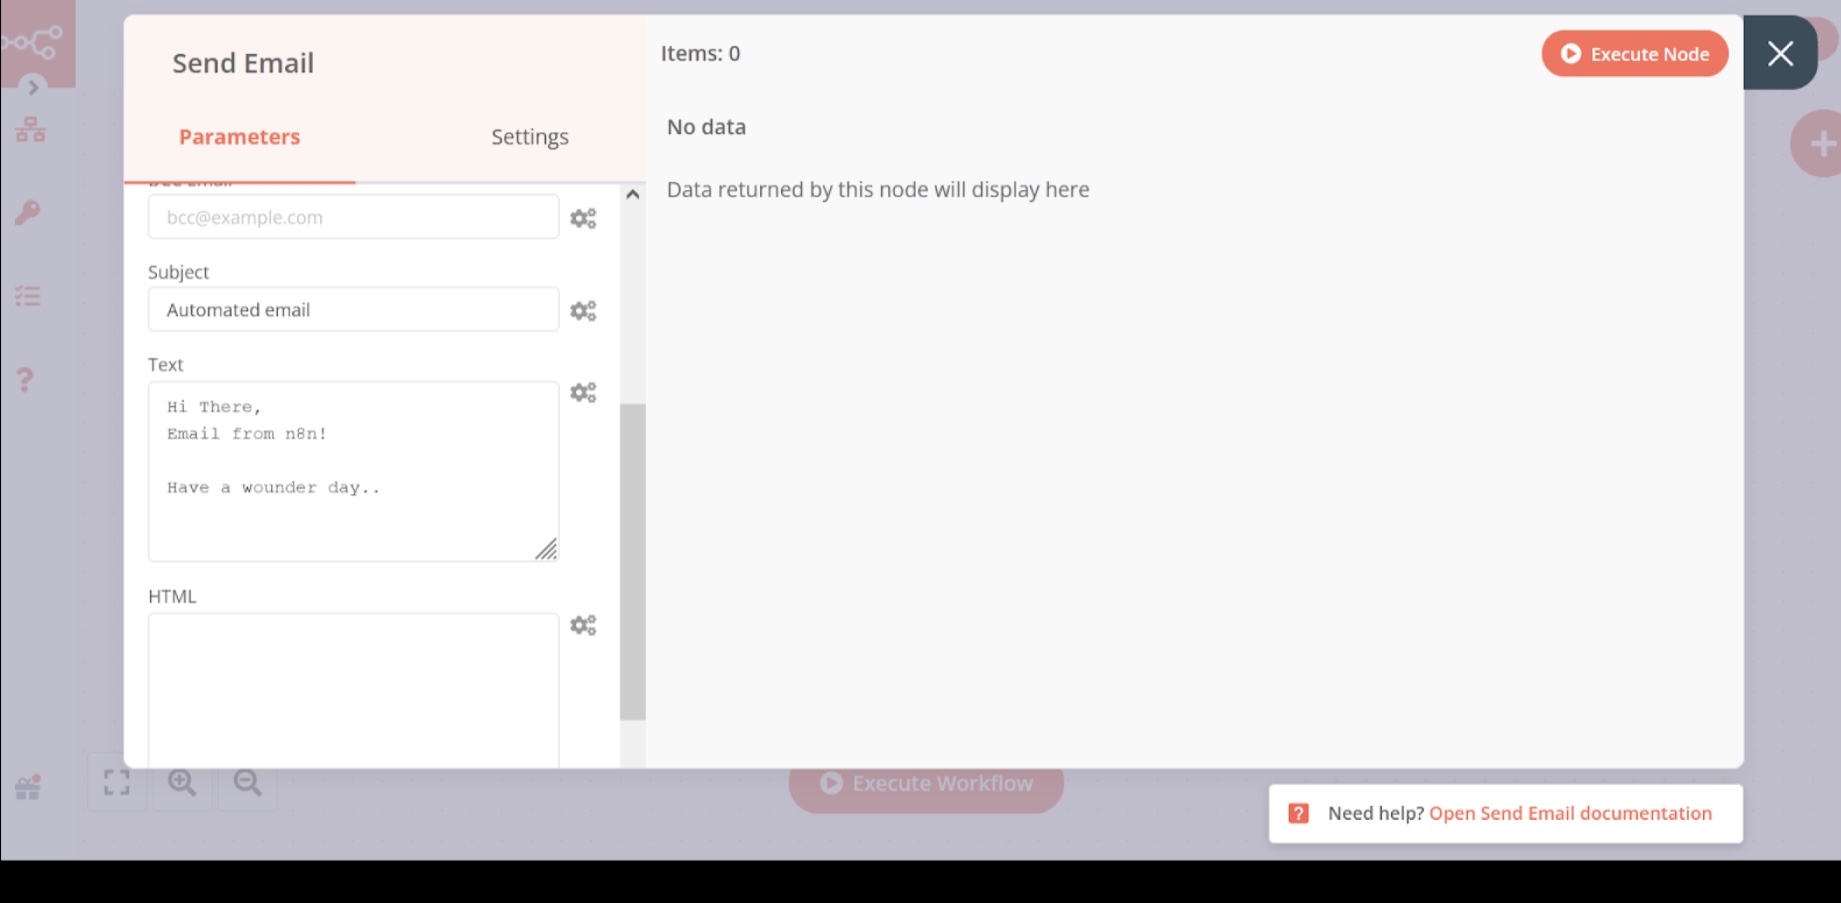
- Fill the “from email” address and the “To email” address
- BCC and CSS email (Optional)
- Subject
- Text or HTML form message
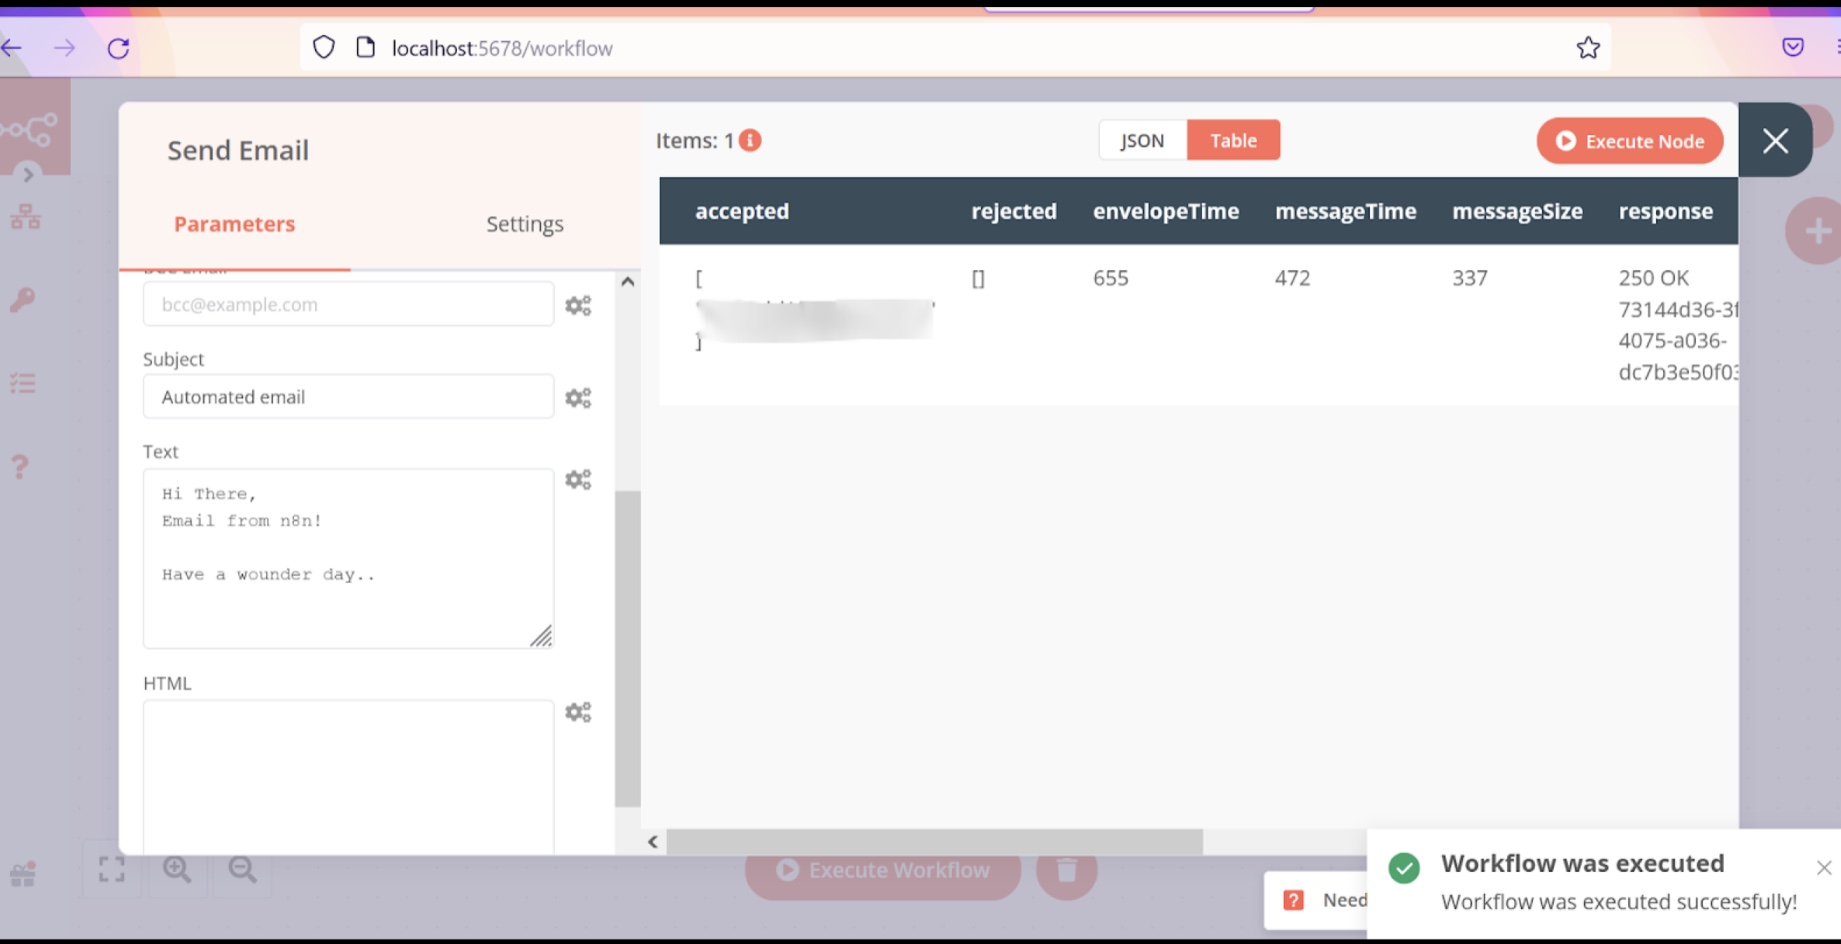
If all goes fine then the response will be like on the third screenshot
